

A breakdown doesn’t always mean your e-bike needs major repairs. Stop riding if it feels unsafe, switch it off, and remove the battery before maintenance. Hold the Power button to discharge any remaining power. Check for an obvious issue, such as a loose connection or brake problem. If the cause isn’t clear, or the repair involves the brakes or electrical system, have the bike assessed by a local shop.
A sudden fault can be frustrating, especially when you rely on your bike to get around. Start with simple checks, but don’t risk riding if the brakes, steering, or motor assistance aren’t working as they should.
This guide covers checks for common problems, routine maintenance, and when to contact customer support. It also explains how a local bike shop can diagnose and service your e-bike in Sherwood Park, Edmonton, and nearby communities.
Key Takeaways
- Stop riding if the bike feels unsafe, then switch it off and remove the battery before maintenance.
- Use routine brake checks and basic upkeep to spot wear before it disrupts a ride.
- Match the fault to the bike’s symptoms to narrow down whether it may involve the battery, connections, brakes, or another component.
- Choose a local bike shop for hands-on diagnosis when a fault persists or involves safety-critical parts.
- Give customer support clear details about the issue and the checks you’ve already completed to help move troubleshooting forward.
Bike maintenance
Regular checks can catch wear before it affects control or braking. Work through these steps in order, and stop if a repair involves damage you can’t assess safely.
- Switch off the bike, remove the battery, then hold the Power button to discharge any remaining power. Keep the battery away from your work area while checking the bike. Inspect the frame, wheels, tyres, cables, and visible connections for damage or looseness. Don’t ride if a wheel, steering part, or electrical connection appears damaged.
-
Check brake maintenance and wear
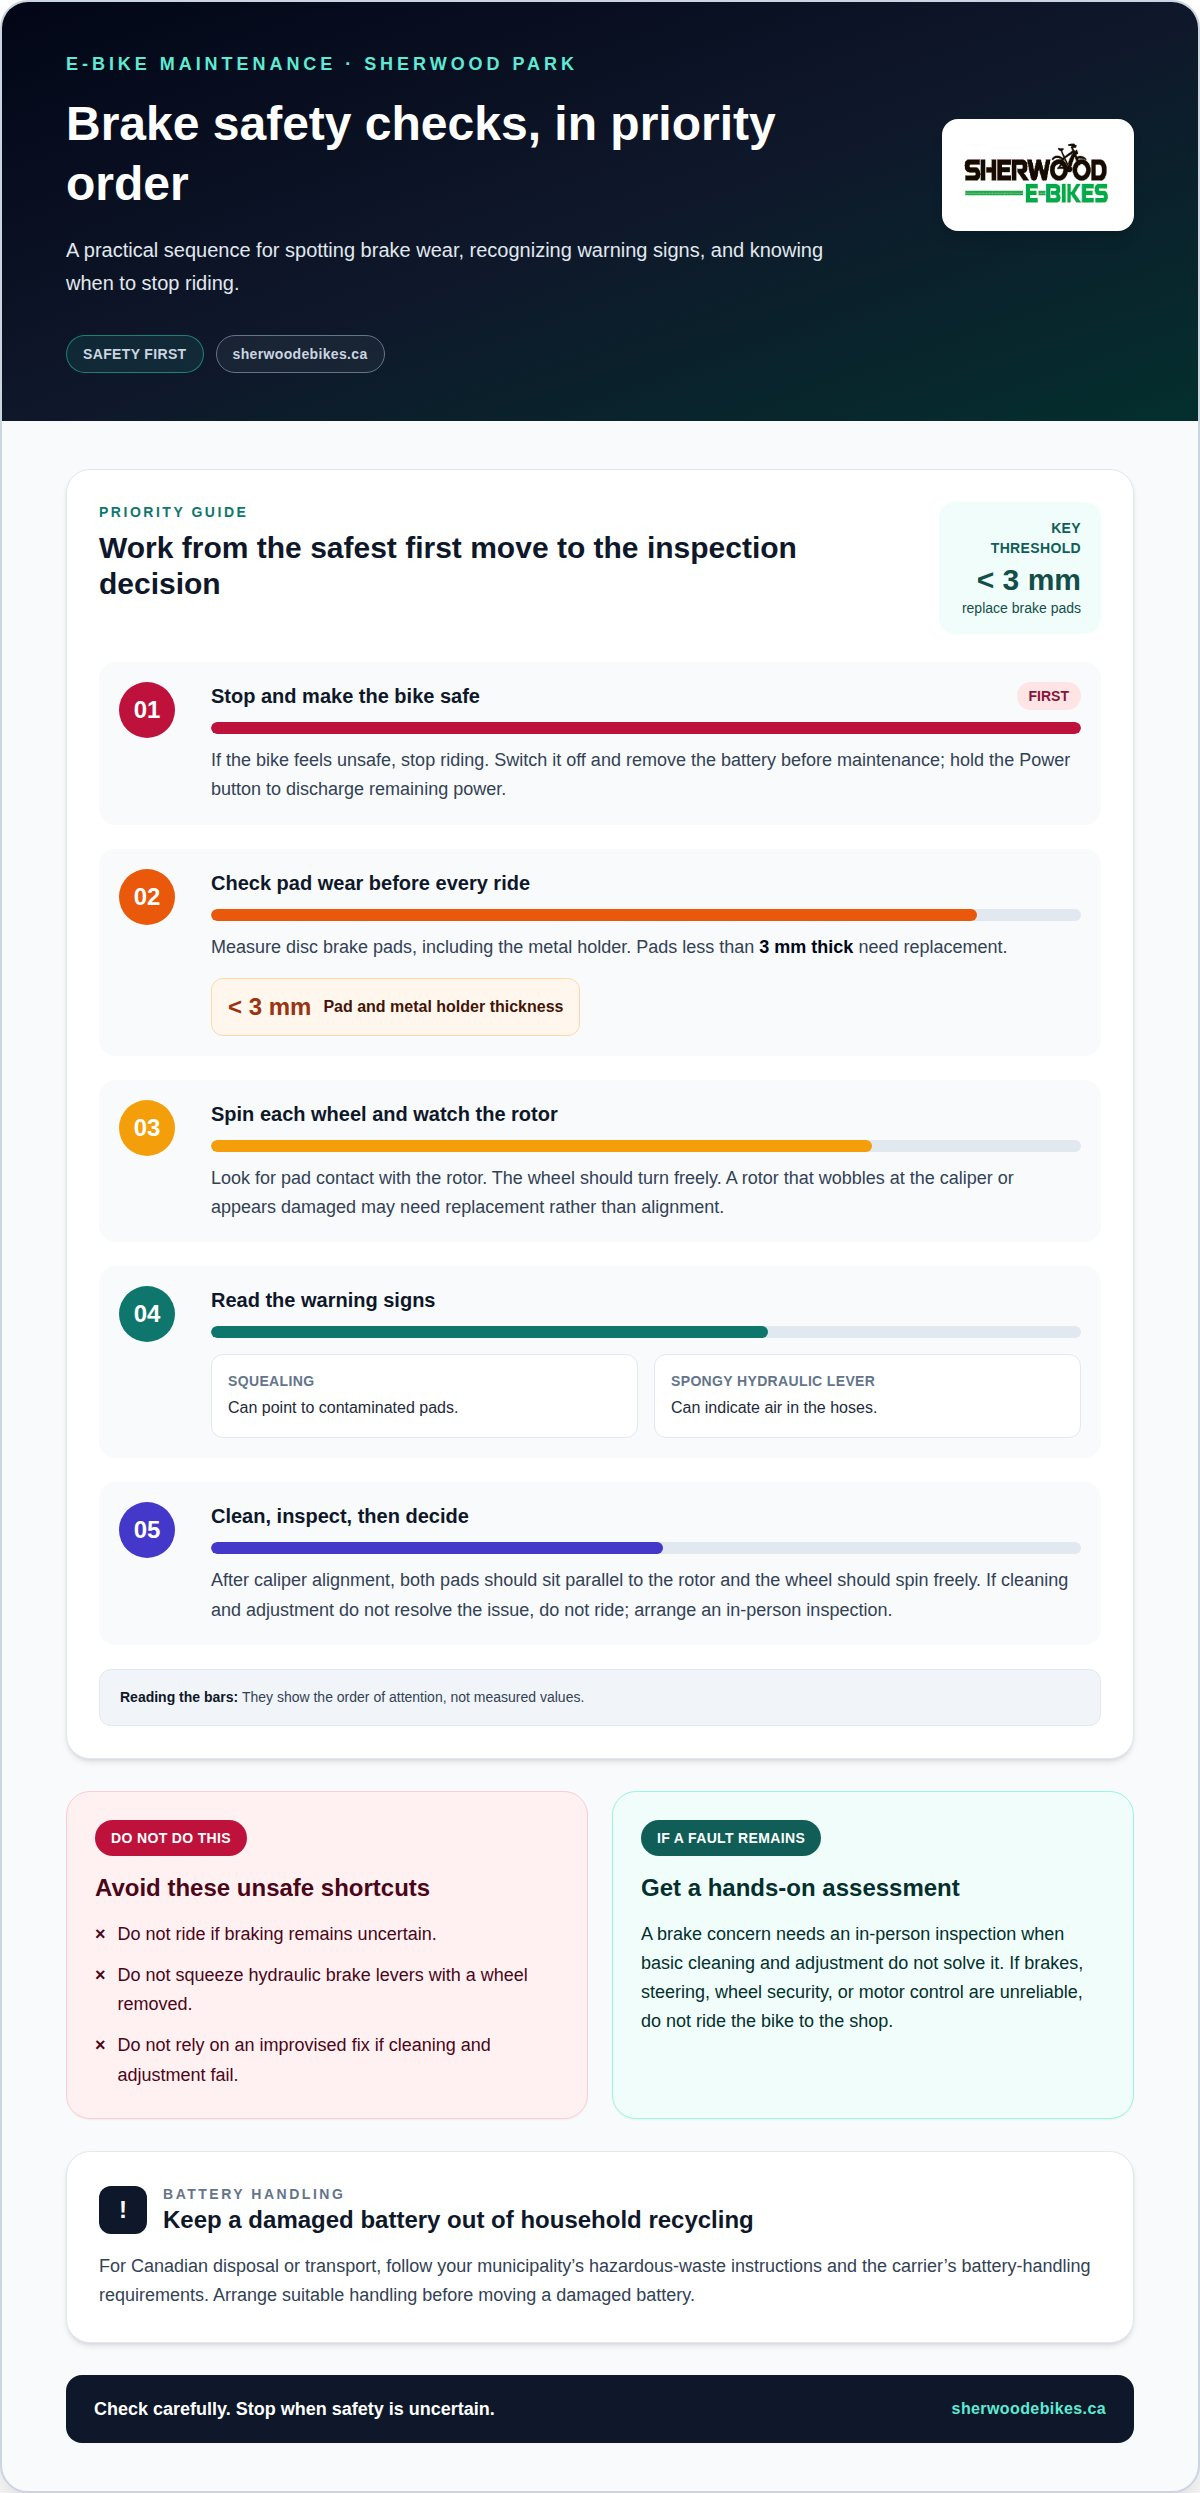
Check the brakes before every ride. Spin each wheel and look for pad contact with the rotor; the wheel should turn freely. Disc brake pads less than 3 mm thick, including the metal holder, need replacement. Squealing can point to contaminated pads, while spongy hydraulic levers can indicate air in the hoses. Don’t squeeze hydraulic brake levers with a wheel removed.
- Clean and inspect the brake components before adjusting them. If a rotor wobbles at the caliper or appears damaged, it may need replacement rather than alignment. After caliper alignment, both pads should sit parallel to the rotor, with the wheel spinning freely between them. If cleaning and adjustment don’t resolve the problem, don’t ride; arrange an in-person inspection.
-
Review common repair costs
Identify the fault before estimating the repair. Common work can range from brake cleaning or adjustment to replacing worn pads, a damaged rotor, or an electrical component. The total depends on the diagnosis, required parts, and labour. A brake adjustment and a component replacement are different jobs, so there’s no single Canadian-dollar figure for every problem. Describe the symptoms and affected parts when requesting an estimate.
-
Transport or store the broken bike and battery
For storage or transport, switch off the bike and remove its battery if it comes out without force. Keep the bike stable and protect exposed electrical connections from knocks or moisture. For Canadian disposal or transport of a damaged battery, follow your municipality’s hazardous-waste instructions and the carrier’s battery-handling requirements. Don’t put a damaged battery in household recycling; arrange suitable handling before moving it.
Rad Power bike brakes and components may wear out faster than those on non-motorized bicycles and may require more service, so include brake checks in routine upkeep. Forum participants describe hands-on approaches, but treat them as suggestions rather than a diagnosis: one recommends lightly sanding brake pads on a flat surface with 120- or 180-grit sandpaper. Another describes an Allen screw on the brake as about 2 cm in diameter and recommends using an Allen bit on a 6-inch shaft to reach the brake adjustment screw.
For brake-pad bedding-in, a forum participant recommends slowing fairly hard from 20 mph without coming to a full stop. The participant says some manufacturers recommend repeating the brake-pad bedding-in procedure 50 times. These suggestions do not replace checking the specific brake system or assessing the cause of a problem. If cleaning and adjustment do not resolve a braking issue, avoid riding and arrange a hands-on inspection, as described above. Keep any sanding or adjustment within work you can assess safely, and do not rely on an improvised fix when braking remains uncertain.
Finding a local bike shop
Choose a shop based on the fault, the bike’s system, and how far you can travel safely. A brake concern needs a different inspection from a display or motor-assistance fault.
- Search within practical reach of Sherwood Park, Edmonton, Leduc, or your nearby community. Look for a shop that works on e-bikes and can assess both mechanical problems and electrical symptoms. A shop focused only on basic adjustments may not be equipped to diagnose a power issue. Note the exact bike model and describe the fault before arranging transport.
- Match the problem to the shop’s repair capabilities. Brake noise, a rubbing rotor, or a spongy-feeling lever calls for a brake inspection. A blank display or assistance that cuts out needs electrical diagnosis. Explain whether the fault happens continuously or under a specific condition, such as starting, climbing, or turning.
- Prepare a clear record of the symptoms before the bike leaves home. Note what the display shows, whether the battery is charged, and what changed before the fault began. A short video can capture an intermittent sound or display behaviour if you record it while the bike is stationary. Include photos of visible damage or loose parts.
- Make the bike easier to identify and inspect. Record the model name and serial number, and bring any keys or removable components needed for assessment. Don’t take apart wiring or alter electrical connections before the appointment; doing so can obscure the original fault. Secure accessories, child seats, and cargo attachments, or remove them if they interfere with inspection.
- Plan transport around the bike’s condition. If the brakes, steering, wheel security, or motor control are unreliable, don’t ride it to the shop. Arrange a suitable vehicle or another safe way to move it, and secure the bike so it can’t shift during travel. Before transport, tell the shop whether the battery is removable and describe any visible battery damage.
- Use the shop’s assessment to understand the next repair step. Ask for a clear explanation of the diagnosed fault, which component needs attention, and whether the bike will be safe to ride afterward. Keep the findings with your symptom notes; they can help if the issue returns or you need to describe it to customer support.
General troubleshooting
Work through basic checks in sequence, and stop if the bike feels unsafe to operate. Before attempting a reset or adjustment, note what changed and what the display shows.
-
Take first steps after a breakdown
Move out of traffic and stop completely before troubleshooting. Switch off the bike, then check for visible damage, a loose wheel, or a control that feels unusual. Don’t continue riding if the brakes, steering, or motor assistance are unreliable. Note where the fault happened, such as during startup, on a hill, or after a bump.
- Check the display and battery indicators without taking electrical parts apart. If the screen shows an error message, write down its exact wording or photograph it. Confirm whether the battery is seated as intended and whether the display powers on after you switch the bike off and back on. If the same message returns, record it for diagnosis instead of repeatedly resetting the system.
- Distinguish electrical symptoms from mechanical ones. If the display works but the bike makes a new sound, inspect the visible wheel, brake, and drivetrain areas while it’s stationary. If the display stays dark, note whether other lights or indicators respond. Don’t pull wiring, bridge connections, or open electrical housings; these actions can cause damage and obscure the original fault.
- Check visible connectors only for an obvious disconnection or damage. Don’t touch melted, wet, corroded, or frayed parts, and don’t reconnect damaged wiring. If assistance cuts out while pedalling, note when it happens and whether the display stays on. A repeatable symptom gives a technician a clearer starting point than a general report that the bike stopped working.
-
Respond to a hot or damaged battery
Stop using and charging a battery that is unusually hot, swollen, cracked, leaking, or smoking. Don’t touch, puncture, or try to remove a battery that appears damaged or is smoking. Move away and seek emergency help if there’s smoke or fire. Keep people clear, and don’t return to the bike to retrieve belongings.
- Once the immediate hazard has passed, keep the bike out of use and note what happened without handling the battery. For example, record whether the battery was charging, had recently been used, or had been struck before the problem appeared. Share those details and any display message with customer support or a repair technician. Don’t charge the battery again or attempt a home repair while damage is visible.
Contacting customer support
Send a focused report that explains the fault and when it occurs. Collect clear details before contacting support so you can describe the issue efficiently.
- Gather the bike’s model name, serial number, and purchase details before opening a support request. Find the serial number on the frame or in your purchase records. Include when the problem began, as well as the location and conditions. For example, note whether assistance stopped during a hill climb or the display failed after startup.
- Describe the main symptom rather than listing conclusions. Explain what happened, what the bike did next, and whether the fault repeats. “The display shuts off when I press the assistance control” gives support a useful starting point. Include any error message exactly as shown, including letters or symbols, instead of interpreting it.
- Attach clear photos or a short stationary video if they show the issue. Focus on a damaged connector, visible frame damage, or the display message. Don’t ride to reproduce a fault or handle a hot, swollen, smoking, or otherwise damaged battery. State clearly if the issue affects the brakes, steering, wheel security, or safe operation.
- List the checks you’ve already completed and their results. For example, note whether the battery is seated, whether the display turns on, and whether switching the bike off and back on changed anything. Mention any recent impact, repair, or component change. Avoid taking apart wiring or making adjustments before support responds, since changes can complicate diagnosis.
- Contact the manufacturer through the customer-support channel in your purchase materials or its support resources. Keep a copy of your message and any case reference together. If you speak with a representative, record the date, instructions, and next action. This gives you a clear history if the fault needs further review.
- Follow troubleshooting instructions that match your exact model and reported symptom. If support requests a photo, error message, or test result, send only what you can provide safely. Don’t ride while a brake, steering, battery, or electrical fault remains unresolved. For a mechanical issue that needs an in-person inspection, arrange an assessment at a local shop and share the support correspondence.
For a brake concern, describe the sound, when it occurs, and whether braking or safe operation is affected. Squealing disc brakes are often caused by contaminated brake pads. Present this as a possible explanation, not a confirmed diagnosis, unless support has verified the cause. If you can safely check your Rad Power bike while it’s stationary, report whether the brake pads have little to no contact with the rotor as the wheel spins. Don’t ride to perform a check or reproduce the noise.
Keep your report focused on what you observed: whether the sound happens as the wheel spins or when you use the brake, whether it repeats, and whether anything changed after a recent repair or component change. If you can’t safely inspect the brake, say so rather than attempting further checks. Send support any clear image or video you can capture without riding or handling damaged parts, and ask for model-appropriate next steps before making adjustments.
What should I do first if my e-bike breaks down while riding?
Prioritize a controlled stop, then decide whether you can move the bike safely. Don’t restart your ride until you know whether its handling or controls are affected.
- Ease off the pedals and move away from traffic before stopping. Choose a stable, visible place outside the riding line, such as a wide shoulder or paved path edge. Keep both hands on the handlebars until the bike is stationary. If motor assistance cuts out, expect the bike to feel heavier to push, especially uphill or with cargo attached.
- Slow down smoothly instead of grabbing a brake lever suddenly. Start with gentle pressure and increase it as needed. The front brake provides the greatest stopping power, so avoid applying it abruptly, especially on loose or wet ground. Shift your weight back as the bike slows. Keep your route predictable for nearby cyclists or drivers, and signal your movement when it’s safe.
- After stopping, look for signs that the bike is unsafe to move. Check whether a wheel appears crooked, a control feels different, or a component is visibly damaged. Don’t ride again to test a suspected brake or steering fault. Keep the bike upright and away from passing traffic while deciding whether it’s practical to walk it.
- Record the details while you remember them. Note whether assistance stopped before or after a turn, braking, or a change in road surface. Write down any sound, display message, or change in handling. For example, “the display stayed on, but assistance stopped after a rough section” is more useful than guessing which component failed.
- Move the bike only if it rolls and steers predictably. Walk beside it instead of sitting on it, and avoid slopes if you can’t control its speed. If cargo or a child seat makes it difficult to handle, ask for help moving it. Don’t push it through traffic or leave it where it blocks a path.
- Arrange transport if the bike can’t be controlled safely or the fault affects a critical component. Tell the person helping you what happened and point out any visible damage before loading. If a hands-on inspection is needed, request an e-bike service assessment before returning the bike to regular use.
Sherwood E-Bikes
Sherwood E-Bikes Ltd. can help when a fault needs hands-on attention. If basic troubleshooting hasn’t identified the issue, the company’s E-Bike Maintenance service provides a way to have the bike assessed and repaired. The right replacement part or cycling accessory can also help with ongoing upkeep.
Bring your symptom notes, display messages, and details about when the problem occurs. This information helps explain what changed and where to begin. If the bike has a safety-related fault, keep it parked until it has been assessed. Riders in Sherwood Park, Edmonton, Leduc, and nearby communities can contact Sherwood E-Bikes Ltd. to discuss e-bike maintenance.
Get ready for your next ride
A breakdown can show you what your riding routine needs next. Once the fault is addressed, consider whether your usual routes, cargo, or daily travel plans call for a different setup. If you’re deciding what to do when your Rad Power bike breaks down, base your next step on the bike’s condition and the kind of riding you want to return to.
Sherwood E-Bikes offers E-Bike Maintenance, E-Bike Parts, and Commuter E-Bikes for different rider needs. Explain what you’re trying to solve, whether it’s a repair issue, a replacement part, or choosing an e-bike for commuting. A clear starting point makes it easier to discuss a practical next step.
Contact Sherwood E-Bikes for help and move toward your next ride with a plan.
Frequently Asked Questions
How do I safely troubleshoot a Rad Power Bike that won’t turn on or has a battery problem?
Check the charger and its cable for visible damage, then use only the charger specified for your bike model. Don’t connect the charger if the battery looks damaged, feels unusually hot, or is swollen. For an intact battery, consult the model’s manual for the meanings of charger and display indicators. Note which indicators appear and share that information when arranging diagnosis.
Can a regular bicycle shop repair a Rad Power Bike, or does it need an e-bike specialist?
A bicycle shop may handle mechanical repairs, but electrical faults call for e-bike diagnostic experience. A loose brake cable or worn drivetrain part is different from a motor, battery, or controller problem. Before arranging an inspection, describe the symptom and ask whether the shop handles that type of e-bike system. Choose support based on the fault, especially if safe operation is affected.
What does it cost to repair common Rad Power Bike problems in Canada?
There’s no single Canadian-dollar price: the total depends on the diagnosis, required parts, and labour. Common repairs range from brake cleaning or adjustment to replacing worn pads, a damaged rotor, or an electrical component.


